Travelling with bikes
I’m not going to sugar coat this. Travelling with bikes is a headache, especially flying internationally. No matter how many times you do it, you always worry about whether your bike is going to make it unscathed and let’s not start on the hassle of lugging a bike around the airport.
However, there are a few things you can do that will ease your worries, wallet, and wear and tear.

Step 1: Booking your mountain bike trip.
Before you book your flights and make holiday plans do your research:
- Check the airline’s oversized, excess and sporting equipment baggage policies especially if the airline or flight is a budget or a deal. Do not leave your baggage fees until you get to the airport, you will get stung for more. A few airlines include bikes as sporting equipment and will include your bike as a piece of luggage for free (or a reasonable amount,) especially if you book your bike in at the time of flight purchase. Personally, I have flown with Qantas and Air Canada several times with my bike and haven’t been charged any crazy extra fees and my bike has turned up (mostly) safe and sound.
- Check the hotel bike storage/in-room policy. Most Whistler hotels are bike friendly, especially the Aava Hotel, and will either let you take your bike into your room or have secure storage for them.
- Check your airport transfers have the capacity to transport your bike. If you are renting a car make sure the bike will fit in the car (hint don’t book the smallest one). If you are getting a bus make sure you book your bike in advance to ensure they have room for the oversized luggage and again so you don’t get stung for not pre-booking.

Step 2: Packing your bike.
Once you check your bike bag in at the airport you will have no control over how it will be handled. Prepare your bike to get thrown around in its packaging. Areas to consider:
Your weight limit
If your bike is going to be considered a piece of luggage then with all its packaging it will most likely need to be under the weight allowance. This is normally 23kg, but double check with your airline. I typically remove my pedals and put them with any spare parts in my other luggage to save weight.
What to use for packaging
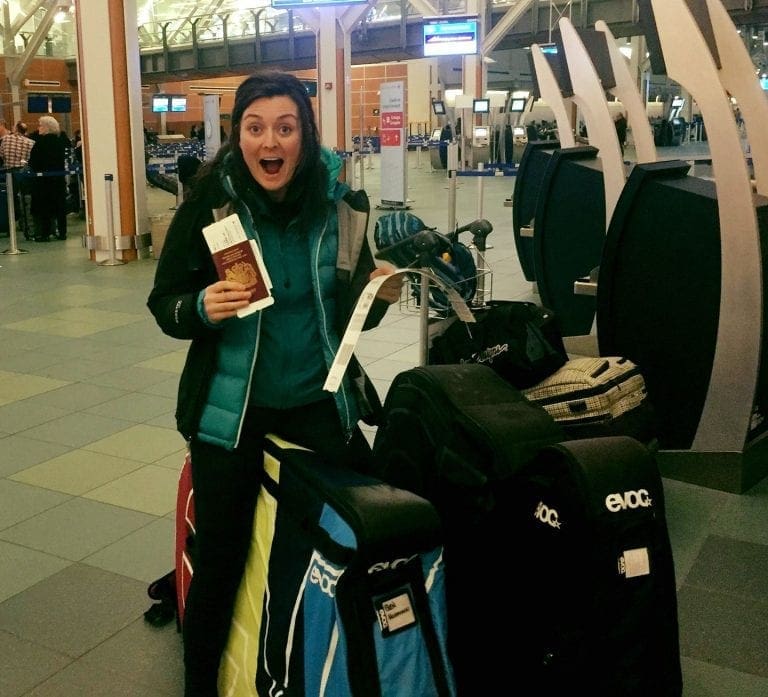
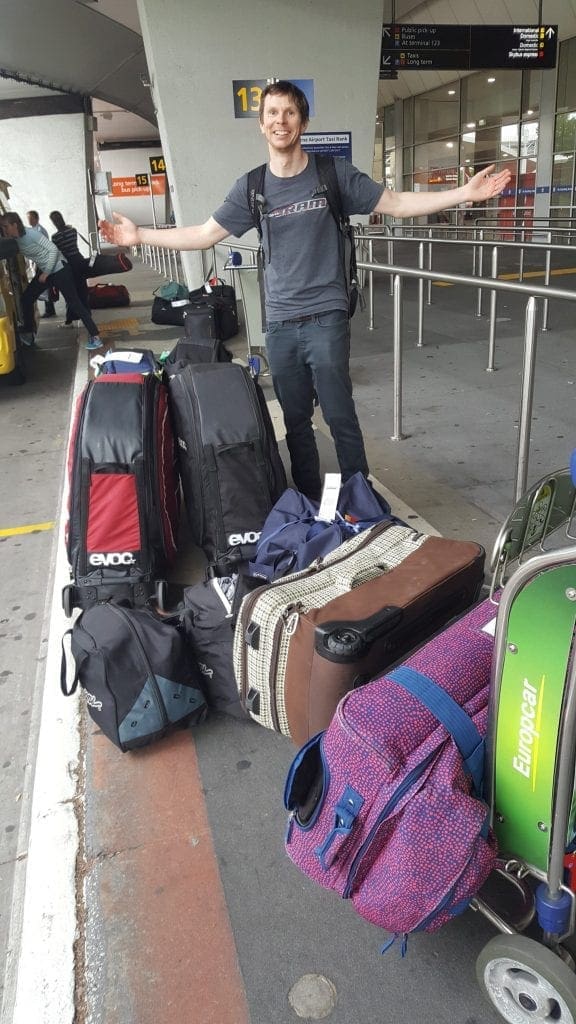
Try to get a good bag or hard box to transport your bike. Cardboard boxes are a last resort as they don’t hold up well to rain and general wear and tear. Personally I have always used an EVOC bike bag as I love:
- the protection it offers;
- the ease of packing and unpacking my bike;
- it’s security; and
- the movability of it (it’s on wheels with great positioned handles. If you have a connecting flight it makes walking across an airport a lot easier).
Inside the bag/box use bubble wrap, clothes, and corrugated cardboard on your bike to protect vulnerable areas. I also use my knee pads and chamois to protect my frame.

Preparing your bike
Through trial and error, and unfortunately a few damaged parts over the years of travelling with bikes I’ve learnt to:
- Let some air out of your tires, it also makes them easier to fit.
- Take off your rotors, wrap them in some protection (i.e. bubble wrap, cloth, corrugated cardboard) and place them somewhere in your luggage or bike bag where they will not get hit.
- Undo your derailleur and secure it to the inside of your rear triangle. Zip ties work great.
- Place a thick piece of cloth under the bottom bracket of your bike, which will likely be in contact with the bottom of your bag/box. The bike shifts and rubs any contact points in transit.
- Put brake stoppers in.
- Put an axle spacer in with your rear axle.
- When you place the wheels in the bag/box make sure the rear wheel is turned so your cassette is on the outside of your bike. Your cassette is a strong chunk of metal that won’t play nicely with your frame if it makes contact.
- Wrap your fork stantions and shock shaft with some protection (i.e. bubble wrap, cloth).
All this may seem like a lot of effort, and maybe a bit of paranoia, but it’s worth it when your bike turns up undamaged, and immediately ready for your vacation.

Renting a bike instead of travelling with bikes
If travelling with your bike sounds like too much hassle, or if you’d like to ride something more suitable to the terrain of where you are visiting, renting a bike may be a better option.
In Whistler, the bike terrain is a lot more rugged them most areas. Then, there’s the Whistler Mountain Bike Park. For Whistler you will want a burlier mountain bike, ideally one with at least 150mm of travel.
There are many pros to renting a bike instead of bringing your own:
- It’s a lot easier travelling without a bike, and if your trip is relatively short it can be more economical to rent a bike then transporting your own.
- You’ll get to try something new. This may be an upgrade to your current bike, you will get a chance to demo a bike you are considering buying and the rented bike will be more suitable to the area and terrain you are visiting.
- You can swap between different types of bikes. Take a downhill bike in the park, hit the cross country trails on an XC pinner, or take on the famous Whistler trails with an all mountain bike.
- It’s less damage, wear and tear on your own bike. You are on holiday and plan to ride for all the hours there is daylight and probably take on some bigger hits then you might normally shy away from at home.
- Your bike is definitely not going to get damaged in transit.
- You won’t need to store, clean, maintain or fix your bike. If something breaks then it’s not the end of your holiday. The bike will get fixed by the rental store or there will likely be another bike for you to use and get back on the trails ASAP.
Hopefully I haven’t completely put you off travelling with bikes internationally. However, it’s clear that in some instances, it’s not the right course of action.

If you are planning to rent a bike here are a few tips to help get your bike set up and on the trails quicker and smoother:
- Bring your own pedals and shoes. This will make you feel more comfortable on the ‘new’ bike immediately and it’s one less thing to work out and set up.
- Know the bike model, year, size and spec of the bike you normally ride. This will help your rental tech understand what type of bike you are coming from and how to set up the rental bike similarly.
- Take note of your air pressures and rebound rate on your own suspension, along with the year, make and model. Air pressures and settings will be different from bike to bike, but this will give your rental tech a rough starting point of how you like your bike set up.
- Take note of how far your brake levers are from the end of your handlebars, and the roll on them and your handlebars. Again this may differ from bike to bike, but it’s a good starting point.
- Take note of the distance between the middle of your crank and the top of your seat when the seat post is all the way up. This is your inseam and will be the same from bike to bike.
If you are considering renting a bike for your Whistler bike trip check out Arbutus Routes’ full fleet of downhill, all mountain, cross country and road bikes to rent. Or if you are unfortunate and something goes wrong with your bike in transit pop by the store and we will be sure to help you out.


MTB Trip of a Lifetime
Best Bike Shop in Whistler
Best customer service!